
Guest reading progress stays in this browser and is not synchronized to your account automatically. Use the learning panel to include browser marks and save them explicitly. Clearing site data removes browser marks.
Your learning notebook
Save courses and review situations deliberately. Load your account records on another device when you want to continue.
Bookmarks and review choices stay in this browser until you load and save an account. Answers and time spent reading are not recorded.
Saved courses
Saved situations to revisit
Find your marked situations by title or topic, then open the original question and explanation.
Your review choices will appear here when this learning view is ready. Use the account controls above to load account choices.
No situations are marked for review in this learning view.
No saved situation matches these filters. Clear the search or choose all topics.
Identification practice
Land access practice
Field decisions practice
Harvest care practice
Useful reading before this lesson
Start with these guides for background and preparation. You can open any guide at any time.
Lay out the kit and assign the load ↓
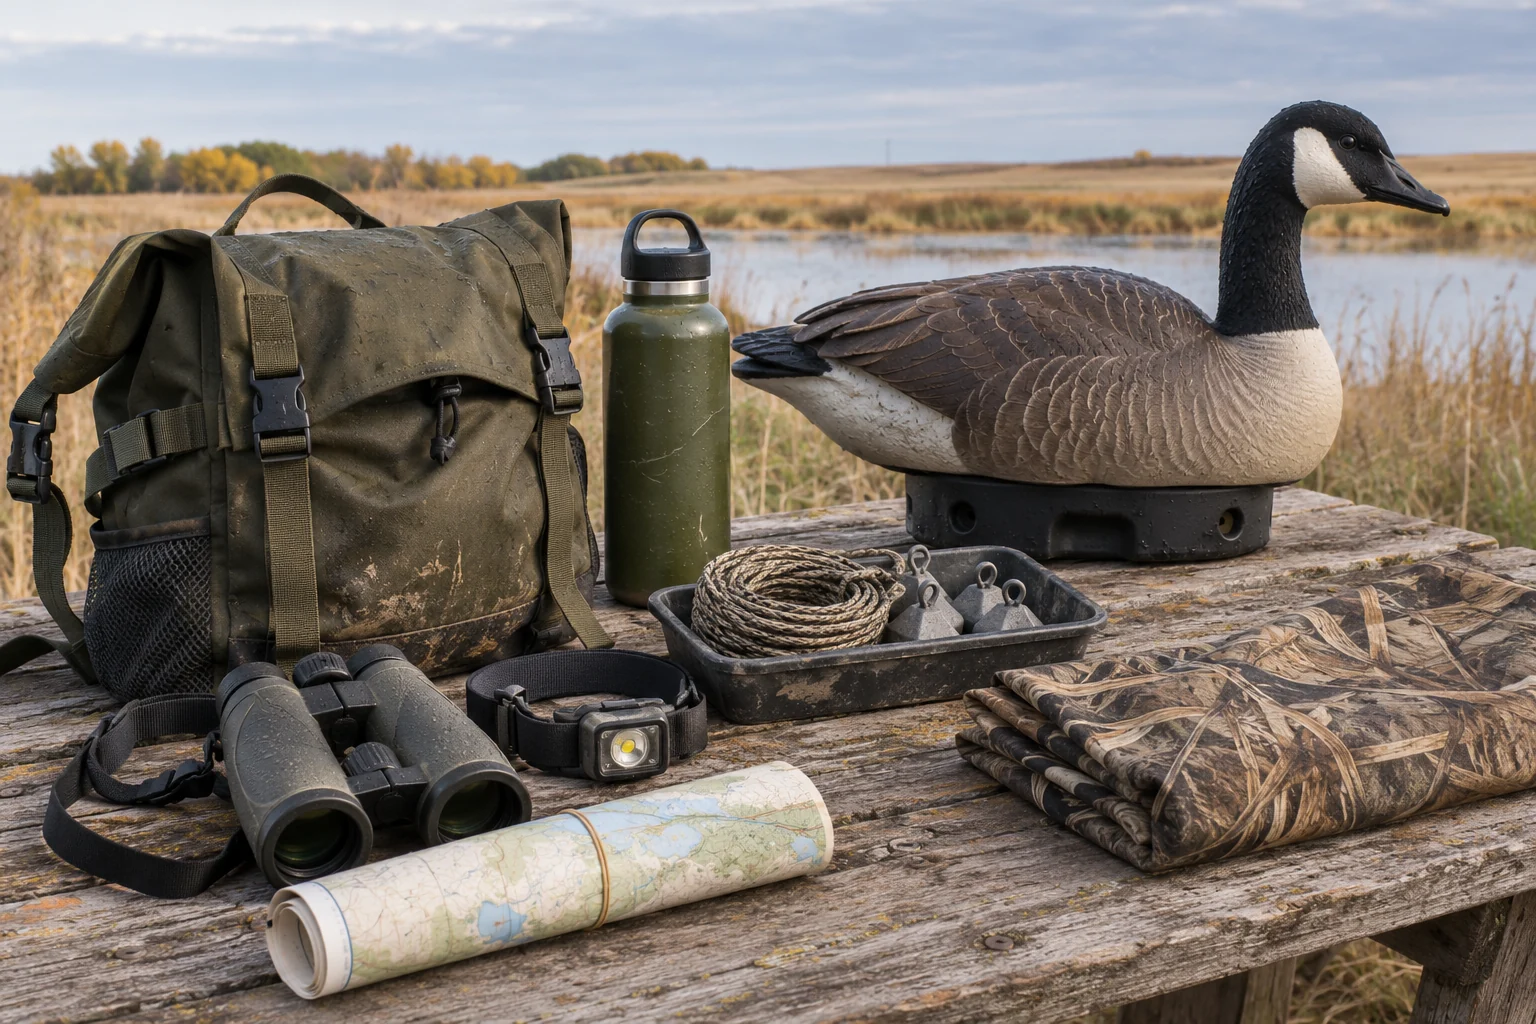
Original AI-generated teaching photograph of prepared supplies. The scene illustrates organisation, not a complete equipment list or a measurement of food temperature.
Image credit: SKHunter · original AI-generated teaching photographWhat you will learn
- Build a kit around one checked method and site.
- Separate personal essentials from shared hunting equipment.
- Rehearse packing, access and after-trip care before relying on the kit.
An original SKHunter learning guide
Build a waterfowl kit around the whole outing
Follow the load from the home table to the return walk. Each module must have a task and an owner.
Conceptual workflow · read the complete lesson below
- 01
Write the equipment brief
Choose dry field or firm shore, approach distance, weather, stationary time and the route back. Match specialist equipment to that method.
- 02
Keep a personal core
Carry reachable navigation, communication, light, water, food and weather/delay supplies with each person, apart from shared gear.
- 03
Count the shared module
Check decoys, supports or rigging, repair items and the checked collection route. Use model-specific instructions for compatibility questions.
- 04
Rehearse, then reset
Try the real load on a short route. After the outing count, clean, dry, inspect, repair and replenish before repacking.
Review your own plan
- Can each person reach their own essentials with gloves on?
- Who carries each shared item both in and out?
- What change in conditions makes you shorten or cancel the setup?
Describe the outing before choosing equipment
Write a small equipment brief: dry harvested field or firm shore, approach on foot, expected stationary time, forecast, return route and the people carrying the load. A dry-field bag and a floating-decoy bag solve different problems. Choose the method before adding specialist tools; this workshop covers a land-based outing, not boat operation or water-entry skills.
Give every item one job in that brief. If a proposed tool depends on a skill nobody has practised, write down the training needed. Try a shorter route or simpler method while that gap remains. Buying waders does not establish safe footing, water depth, ice strength or a usable retrieval route.
- Write: destination / method / carried distance / return time.
- Mark each item personal, shared or vehicle-only.
- Keep the approach and retrieval plan with the equipment brief.
Pack a personal core that stays with you
Lay the bag out in three zones: items needed while walking, items needed while stationary, and reserve items for a delay. Put navigation, communication, light, water, food, first aid and weather protection where you can reach them. Add the other outdoor essentials appropriate to the route, including signalling and emergency shelter. A useful personal kit remains with its owner when the group separates to unload shared equipment.
Practise finding your light and phone with your actual gloves on, without emptying the bag. Place documents and vulnerable electronics in suitable weather protection. Keep a dry reserve layer separate from wet decoy gear. Saskatchewan outings can involve substantial changes between active setup and a stationary wait; arrange layers so you can change before settling in.
- Personal: documents, map, communications, headlamp, water and food.
- Delay reserve: additional clothing, first aid, signalling and shelter appropriate to the trip.
- Shared: decoys, blind components, repair pouch and retrieval tools.
Assemble a manageable decoy module
Match the module to the chosen lesson: field decoys and their supports for a field, or floating decoys and their appropriate rigging for a shore setup. On a clear work surface inspect attachment points, lines and weights, then bundle them to avoid loose loops around hands, feet and other equipment. Make a simple count card so missing parts are noticed at home.
Pack a small selection that your party can carry, place and collect within its actual time and access limits. Add a call only when someone has practised it and the current rules permit the intended use; compare equipment rules separately for each species and season. Large quantities or electronic devices are not a substitute for a workable approach and a recovery plan.
- Count decoys, supports or lines, and weights as separate components.
- Bag loose hardware; keep a repair pouch accessible.
- Check every planned collection point from firm, authorised ground.
Keep compatibility and firearm checks explicit
Create a short reference card for your own equipment: exact firearm model, barrel and choke system, intended ammunition and the relevant manufacturer instructions. A manual for another model or a familiar choke name does not establish compatibility. Have a qualified instructor or gunsmith resolve unclear markings or condition concerns before use. Eye and hearing protection belong in the kit and in the rehearsal.
Do the home packing exercise without handling live ammunition or using a firearm as a prop. Arrange practical firearm checks through your training and manufacturer procedures in an appropriate setting. Use the current RCMP transport and storage guidance for your circumstances. This is a workflow for finding and recording the correct instructions, not a universal choice of gauge, shot size or choke.
Run a departure rehearsal and an arrival pause
Rehearse the whole load, including the walk from the vehicle, on a suitable short route before the hunting day. Check straps, balance, snagging cords and whether a shared carrier can actually be lifted and set down by its assigned person. Test the offline map, light and charging cable. Write a simple fallback if one device, carrier or person becomes unavailable.
At the site compare the equipment brief with the ground. A changed gate, deep mud or an unreachable collection area changes the plan even when the bag is complete. Remove an unnecessary module or shorten the outing; do not add an unplanned water crossing to justify the equipment brought. Agree who carries which shared items out as well as in.
- Can each person locate their essentials without another person’s bag?
- Do offline navigation and lighting work now?
- Can the party carry everything back if conditions worsen?
Reset the kit before the next outing
At home divide the load into dry storage, cleaning, drying and repair. Follow each product’s instructions; wader and footwear materials can require different care. Remove mud and plant material, dry gear as directed, and inspect straps, attachment points and containers before packing again. Keep wet or dirty equipment away from clean food and game-care supplies.
Use the count card and write one concrete fault beside each repair item: loose buckle, missing support or failed cable. Mark that module unavailable until fixed. Replace consumed supplies, recharge devices and review the actual carried weight. An unused essential may still have been justified; an unused extra needs a reason to return to the bag.
- Count / clean / dry / inspect / repair / replenish.
- Record where each shared item is stored and who will bring it.
- Keep a dated kit revision with your next preparation list.
Workshop: two carriers, one long approach
Two people plan a lawful dry-field outing. The first packing attempt fills both carriers, while the light and water are buried beneath shared decoys.
Put it into practice
- Draw a personal-core pile for each person and a separate shared-module pile.
- Move lights, water and weather reserves to reachable personal storage.
- Try the loaded approach on a short practice route and remove optional decoys if the return load is unrealistic.
- Assign both outbound and return carriers, then record the remaining kit question.
- After the outing, use the count card and repair list before repacking.
Common mistakes to avoid
Everything essential stays in the vehicle
Identify what must remain with each person for the route and a delay, then physically test where it is carried.
A tool makes a new environment manageable
Waders, a blind or a retrieval pole cannot supply water-entry skills, known footing or permission.
A familiar choke name proves compatibility
Read the instructions for the exact firearm and choke system; resolve uncertainty before use.
The decoy module is complete, but its collection route now requires an unplanned water crossing. What is the useful equipment decision?
- Use the crossing because waders are packed.
- Change or shorten the setup to an authorised, workable collection plan.
- Add more decoys to make the carrying effort worthwhile.
Show the answer and explanation
Answer: B. Change or shorten the setup to an authorised, workable collection plan.
A complete module only works within the checked route, skills and conditions. Change the plan when its collection route no longer fits.
Lay out the kit and assign the load
Use these starting modules to make a packing sheet for this outing. Lay the actual items out, choose your own quantities and name who carries each module out and back. Add or replace rows to suit the route and party.
This is a draft on this page, not a saved account checklist. Nothing here is sent or automatically saved by SKHunter. Your browser may restore form fields when you return. Avoid entering private contact details.
Choose a countable unit for each row, such as one bag or one decoy. Write the unit in the module name, then count the actual contents before entering the packed quantity. There is no automatic completeness check; the suggested modules are not a complete equipment list.
Use your browser’s Print menu for a paper copy. Check the print preview: the module, carrier and quantity columns should all be visible. Keep a copy of a useful draft before leaving this page.
See a fictional packing example
A worked organisation example, not a recommended load or quantity for your trip.
- A shared module is called “decoys (each)”. The party plans 12, counts 12 into the bag and writes 12 in both quantity columns.
- The carrier field says “Out: Alex / Back: Robin”. The group rehearses lifting and carrying the actual bag, including the return.
- A reserve layer assigned to the vehicle is reconsidered if someone needs it while walking. Move it to that person’s carried kit; a filled row does not decide where it belongs.
Terms on this page
Open a term for its meaning, a common mix-up and the existing guide. English terms and acronyms are retained.
retrieval / recovery
The separate plan for finding and bringing back a bird or animal described by an outing.
Common mix-up: A return plan for people does not describe every animal-retrieval task; keep recovery limits visible.
Current checks and official context
Choose the trip before the tools
Match the kit to a checked method, route and recovery plan. The bench exercises below are original packing practice; they do not teach boat operation or entry into water.
Keep current references with the kit
Check the current provincial and federal equipment rules for the intended species and method. Follow your own product instructions and the RCMP guidance for your firearm class; the linked manufacturer manuals illustrate why exact models matter.
Turn this lesson into your next outing
Review the date, species, starting template and linked day plan in an editable preparation draft. You choose what to add and save.
Prepare your own trip
Review a preparation draftContinue learning
A pre-trip checklist for waterfowl huntingTry a practical situation
Open related practiceOpening a draft does not create a saved checklist. A checked item records your own review, not permission or an open season.
Scenario practice
Put your field decisions into practice.
Try 24 situations across identification, access, field adjustments and harvest care. Compare your choice with the explanation, then revisit the relevant lesson.
Original sources
- AdventureSmart · Taking outdoor essentials and hiking preparation
- Saskatchewan Commission of Professional Outfitters · Weather and clothing preparation
- Environment and Climate Change Canada · Migratory game bird hunting FAQ
- RCMP · Storing, transporting and displaying firearms
- Simms · Wader care instructions (manufacturer example)
- Browning · BPS owner’s manual (model-specific compatibility example)
Use this as a planning guide. Check current official requirements and site conditions before travelling.
Help improve this guide
Tell the editor about something on this public page that needs attention.