
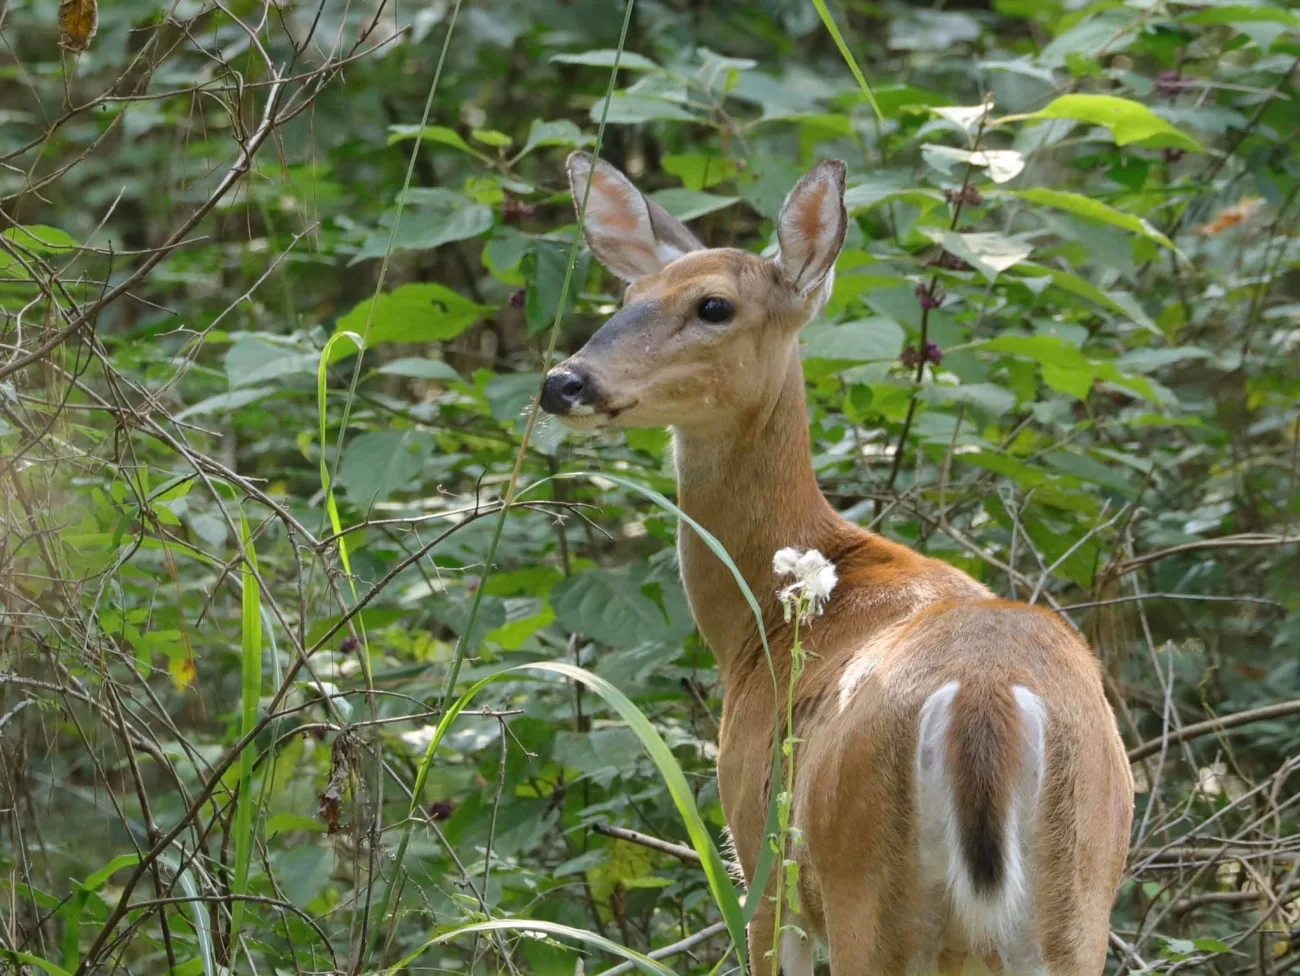
Representative photograph from the credited source, taken outside Saskatchewan. It is not a current sighting, a distribution map or a complete identification guide.
Image credit: Regina Snow/USFWS · Public Domain · View image sourceWhat you will learn
- Build an identification from several visible features.
- Describe a habitat mosaic without predicting a sighting.
- Write a field note that another person can understand.
An original SKHunter learning guide
Build a record, not a prediction
Teaching diagram · not a map- 01Observe
Look from a lawful position without moving closer to obtain an answer.
- 02Describe
Record visible features, time, light, distance and behaviour.
- 03Keep uncertainty
Separate what you saw from what you think it might mean.
One clue starts a question. Several consistent observations build a better record; uncertainty remains a valid outcome.
Read the animal before naming it
Begin with the whole animal: outline, tail, head and what is actually visible. A White-tailed Deer may expose a broad white underside when its tail is lifted, but that view may last only a moment. Compare the tail with the narrower, black-tipped tail of Mule Deer. Use the comparison as a question to investigate, not a shortcut. If vegetation hides the rear of the animal, write “tail not seen” instead of filling in a feature from memory.
Look for connections between resources
Study the relationship between cover, open vegetation and the route you can inspect lawfully. A small woodlot beside a field tells a different landscape story from an isolated patch of trees. Sketch those connections in your notebook and mark which you have actually visited. The sketch is a way to organise questions about the landscape; it is not a map of where deer will be. Crop condition, vegetation and disturbance can change between visits, so retain the date of each observation.
Make a sighting useful after the moment has passed
Use three lines: observation, interpretation and next question. “One deer at the brush edge; tail obscured” is an observation. “Possibly White-tailed Deer” is an interpretation. “Compare tail and head if a later, undisturbed view permits” is a next question. Add time, approximate viewing distance and the position from which you watched. A visit with no sighting is also useful when you record its duration and visibility; it does not establish that the parcel contains no deer.
Worked example: a deer at a tree line
From an authorised viewpoint you briefly see a deer beside a field. Its rear disappears behind shrubs before you can compare the tail.
Put it into practice
- Record one deer, the time, the visible head/body features and the obscured tail.
- Keep the species as uncertain; do not turn the nearby field label into identification.
- Save the viewpoint separately from the animal’s approximate position.
- Review the comparison reference later and keep access and current-season checks separate.
Turn a sighting into a useful note
A 36-second photographic motion explainer with gentle camera movement, four clear chapters and large on-screen words. Silent; optional captions and a transcript are available.
Choose a section or use the player controls. A text transcript is available below.
Read the video transcript
- 0:00
Describe what you actually saw — Record shape, markings and behaviour before assigning a species name.
- 0:09
Record the observation context — Add the date, viewpoint, light and approximate distance.
- 0:18
Keep uncertainty visible — A single track or a brief glimpse may remain unidentified.
- 0:27
Revisit without assuming — One sighting is not a population estimate or a promise for next time.
Common mistakes to avoid
One bright flash proves the species
A partial or backlit view may hide the shape that matters. Seek a combination of features without moving closer.
An empty visit proves absence
A short visit tests what you could see during that period, not all animal use of the parcel.
A saved sighting gives access
Observation and permission are different records; an animal crossing a fence does not extend your arrangement.
The tail is hidden and you saw the deer for only a second. What is the most useful note?
- Confirmed White-tailed Deer because woodland is nearby.
- Deer, species uncertain; tail obscured and brief view.
- No deer observation can be recorded without a photograph.
Show the answer and explanation
Answer: B. Deer, species uncertain; tail obscured and brief view.
A precise record of the uncertainty is useful evidence. Habitat and a fleeting glimpse cannot supply a feature you did not see.
Current checks and official context
At a glance
- Use several identifying features together.
- Check the current White-tailed Deer row and notes.
- Record when and where an observation was made.
Habitat clues help plan a scouting visit. They do not establish that animals are present or that hunting is permitted.
Start with positive identification
White-tailed Deer can show the white underside of a raised tail; antlers typically have points rising from a main beam. Learn the comparison with Mule Deer from an identification reference. A glimpse, track or nearby report may leave the species uncertain, so preserve that uncertainty in your notes.
- Record the features you actually saw.
- Keep observation distance and visibility in mind.
- Use binoculars and a reference without approaching or disturbing animals.
Turn a habitat clue into a lawful scouting visit
Woodland, brush and nearby feeding areas can suggest places to observe. In SKHunter, first shortlist a parcel with a checkable boundary and approach; then inspect current conditions from a lawful position. Save the date, location and behaviour of any sighting. A broad habitat description cannot predict deer on an individual parcel.
- Confirm access to the observation point and the route.
- Keep old signs separate from a recent sighting.
- Prepare a second destination with its own completed access checks.
Match the opportunity and the health checks
Read the current White-tailed Deer table, footnotes and provincial opportunity updates for your WMZ, residency, licence and method. Verify any sex or age restriction using the guide’s definition. Before travel, review CWD submission requirements for the particular species, zone and licence and decide where you would seek current instructions.
- Recheck after changing the date or destination.
- Keep required documents and the applicable official page available.
- Record permission conditions separately from season information.
Turn this lesson into your next outing
Review the date, species, starting template and linked day plan in an editable preparation draft. You choose what to add and save.
Prepare your own trip
Review a preparation draftContinue learning
White-tailed Deer fieldcraft: connect edges, observations and a workable returnTry a practical situation
Open related practiceOpening a draft does not create a saved checklist. A checked item records your own review, not permission or an open season.
Original sources
- Hinterland Who’s Who · White-tailed Deer
- Government of Saskatchewan · Current Hunters Guide and updates
- Government of Saskatchewan · 2026–27 hunting opportunities
- Government of Saskatchewan · Current CWD testing instructions
- U.S. National Park Service · White-tailed Deer and Mule Deer
- Arizona Game & Fish Department · Deer comparison
Use this as a planning guide. Check current official requirements and site conditions before travelling.
Help improve this guide
Tell the editor about something on this public page that needs attention.